Power tool safety checks: Why clear work zones before use
"Safety is not a suggestion; it is the foundation of every successful repair project."
Before you plug in your first device or tighten a screw, you must understand the fundamental relationship between energy and the tools you hold. This guide provides the essential checks for power tool safety to ensure your DIY projects remain productive and hazard-free.
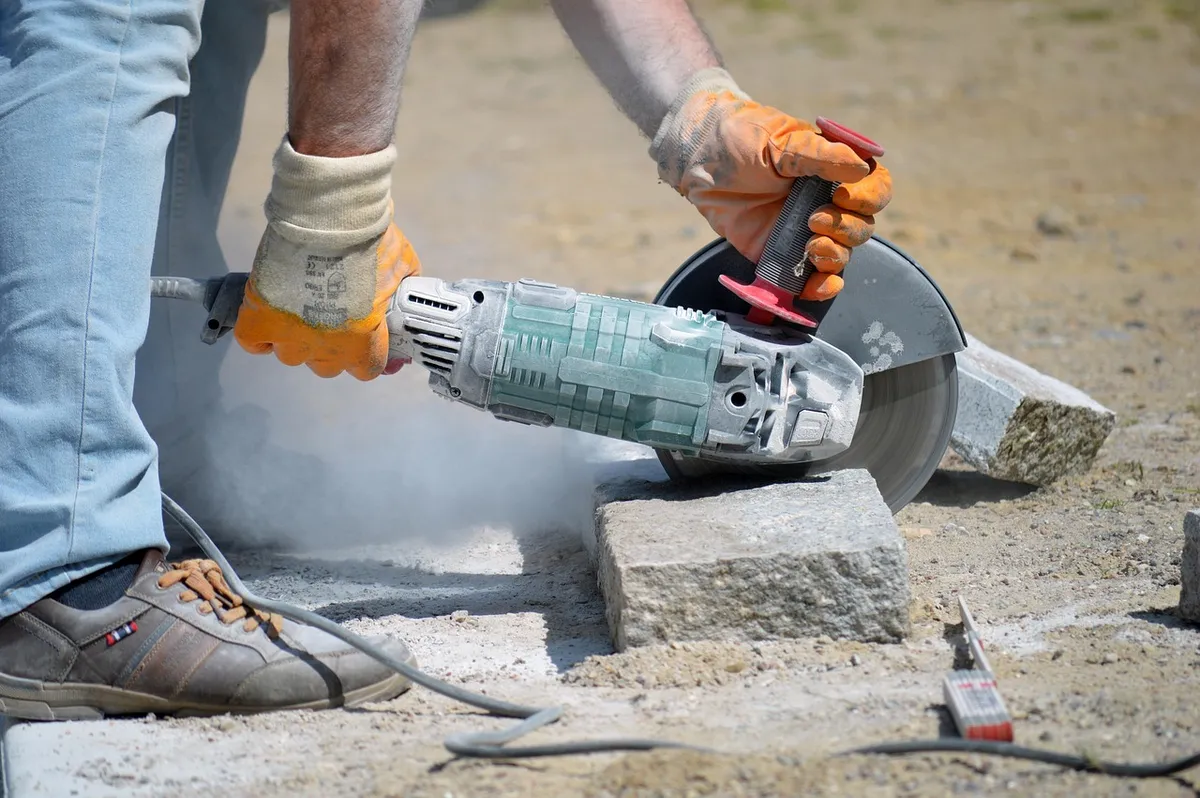
You will learn how to inspect cords, verify tool integrity, clear work zones, and manage power sources. This information is intended for those performing basic household repairs and is limited to manual inspections of existing equipment.
How to perform power tool safety checks?
A hand reaches for a heavy-duty power drill, the cord snaking across the garage floor toward a dusty outlet. Before pulling the trigger, the user runs a finger along the length of the wire to feel for cracks or exposed copper.
Effective power tool safety checks begin with a physical inspection of the power source and the tool's casing. You must verify that the insulation is intact and that the plug pins are straight and clean. A damaged cord poses immediate electrical hazards or risks short circuits while operating.
Always check that the tool's housing is free of cracks that could allow debris to enter the motor. Ensuring these basics are met prevents unexpected failures during a task.
- Inspect the power cord and plug for any visible fraying or damage.
- Check the tool casing for cracks or loose components.
- Test the trigger and safety switches to ensure they function smoothly.
How can I stay safe while using electric tools? A flashlight beam sweeps over a workbench, illuminating a screwdriver and a metal casing with small openings. The user pauses to ensure the workspace is dry and the tool's grip is firm before moving to the next task.

Maintaining a clean and dry environment is a core part of electric tool safety tips. Moisture on a tool or a damp workbench can create a path for electricity to reach the user. You should also ensure that the workspace is well-lit so that you can see small cracks or loose components clearly.
Clearing unnecessary clutter from the work surface prevents the tool from slipping or catching on objects. Keeping the area organized allows for better control over the tool's movement.
I find that the first step in this process is the most critical for preventing accidents.
How do I take care of my electric tools? The user picks up a specialized scaling tool, feeling the weight of the metal and the vibration of the motor. They notice the needles and prepare to adjust the speed settings for the specific material.
Effective electric tool care involves understanding the mechanical limits of your equipment. For example, certain high-speed tools force needles against a work surface at variable speeds up to around 5,000 times per minute.
Operating such a tool requires a stable grip and a firm understanding of its mechanical output. If the tool vibrates excessively, it may indicate internal wear that requires attention. Regularly cleaning the air vents helps prevent overheating during extended use.
Managing the work area for tool power safety guide
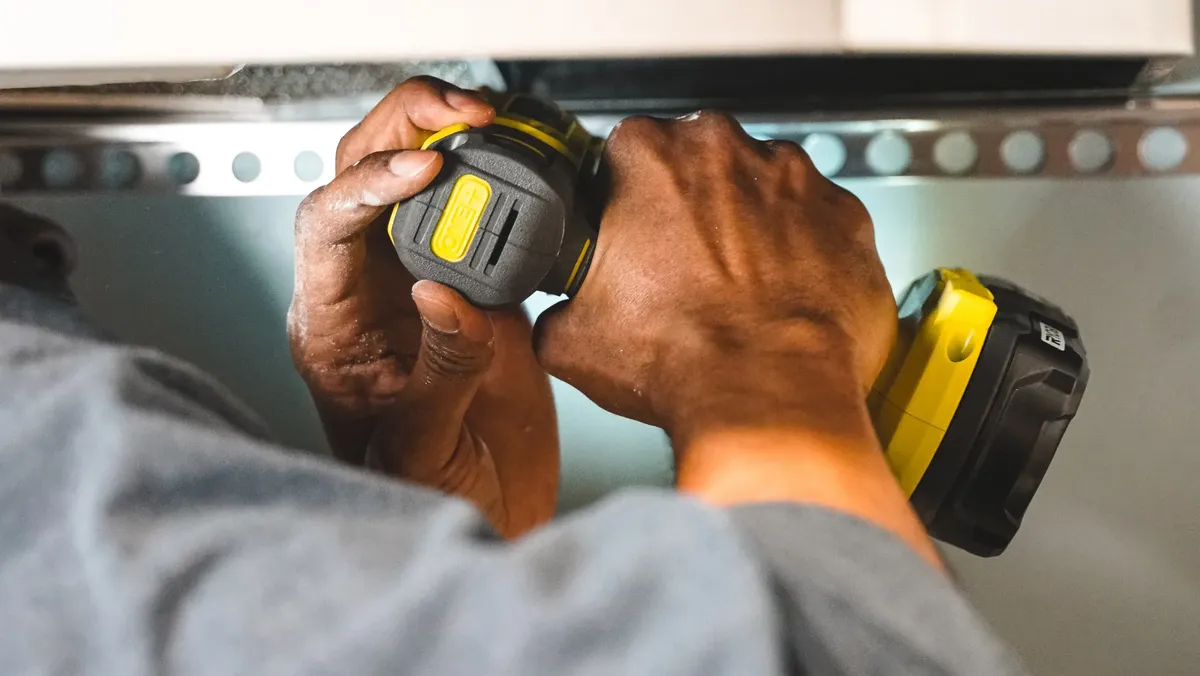
A worker clears a small patch of debris from a metal plate, creating a clean space for the tool to rest. The focus remains on the specific area where the tool will interact with the material.
A proper tool power safety guide emphasizes the importance of managing the scale of your work. For certain cleaning or scaling tools, it is recommended that an area no larger than 6 to 8 inches (150 to 200 mm) be cleared at once.
Working in small, controlled increments prevents the tool from jumping or causing uncontrolled damage to the surface. This controlled approach keeps the focus on the immediate contact point. Managing the scope of the work prevents accidents caused by overextending the tool's reach.
Applying electrical checks to existing conditions
A person stands in a dimly lit room, looking at an older wall outlet before deciding whether to plug in a heavy-duty tool. They check the fit of the plug to ensure it sits snugly in the socket.
When working with older homes, you must apply the following steps to manage electrical connections:
- Inspect the socket for signs of burning, discoloration, or loose mounting. 2. Ensure the plug fits tightly without excessive wiggling to prevent arcing. 3. Verify that the circuit breaker can handle the tool's power draw.

After completing these steps, perform a quick visual check of the connection. I always ensure the cord is pulled straight out of the wall rather than tugging on the cord itself to protect the internal wiring. If the outlet feels loose or warm, do not use it for high-draw tools.
| Feature | Recommended Action |
|---|---|
| Cord Integrity | Check for cracks or exposed wires |
| Work Area | Clear 6 to 8 inches for specific tools |
The limitation of these checks is that they only cover visual and tactile inspections of existing equipment and do not replace professional electrical certification.
The same subject is also called Before using power tools.
The same subject is also called Basic electric tool care.
This part also covers Four checks for power tools.
This part also covers Preventing tool electrical hazards.
Related
- Multi-tap capacity 80% rule: Tips for home wiring safety
- Leveling furniture diy guide: Best tools for adjustment
When is Safety More Than Just a Suggestion? Safety becomes more than just a suggestion when the potential for electrical failure or mechanical malfunction presents an immediate danger to the operator. This condition necessitates stringent adherence to inspection protocols before any power is applied to the equipment. The fundamental relationship between energy and the tools you hold dictates that precautionary measures must precede action.
When operating tools that reach high speeds, such as those described for scaling, the risk escalates because the mechanical output can become unpredictable if the equipment is worn. Excessive vibration, for instance, signals internal wear that demands immediate attention to maintain safety.
This wear directly impacts the tool's ability to perform within its designed parameters.
What are the conditions for a safe workspace? A safe workspace is established when the environment minimizes external variables that could interfere with tool operation or user control. Moisture presents a critical condition because it can provide an unintended path for electrical current to travel to the user. Furthermore, adequate illumination ensures that the user can visually confirm the integrity of the tool and the surrounding area.
Clearing clutter from the work surface is a condition that supports better control over the tool's movement, which is essential when performing detailed repairs. This organization allows the user to focus solely on the task at hand, rather than navigating around obstacles.
The entire setup must support the required precision of the repair project.
Wikipedia: Electric vehicle Based on the retained excerpt mentioning The Swedish Transport Administration: The Swedish Transport Administration electric road program started assessing electric road systems (ERS) in 2013.







Comments 0