Stop Water Stains: Natural Sink Cleaning Secrets Revealed
"The secret to a sparkling kitchen isn't found in a heavy bottle of industrial bleach, but in the simple pantry staples you already own."
By mastering the science of acidity and mild abrasives, you can dissolve mineral buildup and soap scum without harsh fumes or expensive professional services.
* Understand that water stains are usually mineral deposits (calcium/magnesium) or soap residue. * Use the combination of white vinegar and baking soda to dissolve scale and scrub surfaces safely. * Always dry your sink after use to prevent new mineral rings from forming. * Match your cleaning method to your material: vinegar for minerals, baking soda for scrubbing.

Why do white rings appear on my sink?
The sun hits the kitchen window at 8:00 AM on a Tuesday morning in 2026, illuminating a cloudy, white ring around the base of the chrome faucet. You run your finger over the stainless steel, feeling the gritty texture of dried minerals that seemed to appear overnight.
These white, chalky deposits are usually the result of hard water. When tap water evaporates, it leaves behind concentrated minerals like calcium and magnesium. Over time, these minerals bond to your sink surface, creating a crusty layer known as scale.
In my own kitchen, I noticed that even with a soft cloth, these rings felt like sandpaper against my skin.
Beyond minerals, another culprit is soap scum. This is a combination of body oils (from hands) and the fatty acids in soap. When these mix with hard water, they create a stubborn, waxy film that masks the original shine of your fixtures.
The challenge changes based on your material. In a stainless steel sink, these deposits can look like dull streaks or cloudy patches. In porcelain or ceramic sinks, the buildup might look like dark, etched lines.
Because these deposits are chemically bonded to the surface, simply splashing water on them won't work; you need a chemical reaction to break the bond.
The most effective way to stop this cycle is to address the evaporation. If you leave standing water in the basin, the minerals will settle as the water disappears.
But how do you fight the buildup without reaching for caustic chemicals?

The Ultimate Natural Arsenal: DIY Cleaning Agents
A heavy plastic bottle of caustic cleaner sits on the counter, but you decide to reach for the much smaller, much safer containers in the pantry instead.
To tackle a dirty sink, you only need three primary tools: white vinegar, baking soda, and lemon juice. Each serves a distinct chemical purpose in the cleaning process.
Baking soda acts as a mild abrasive. It is hard enough to scrub away stuck-on food and grime, but soft enough that it won't scratch most modern sink surfaces. It also works as a deodorizer, neutralizing acidic odors in the drain.
White vinegar is your heavy lifter for mineral removal. It is a mild acid that dissolves the calcium buildup left by hard water. When you spray vinegar on a faucet, it begins to break down the white crust instantly.
For a bit of extra punch, lemon juice or citric acid can be used. The citric acid in lemons is another effective descaler, and the natural oils in the fruit help polish the surface to a high shine.
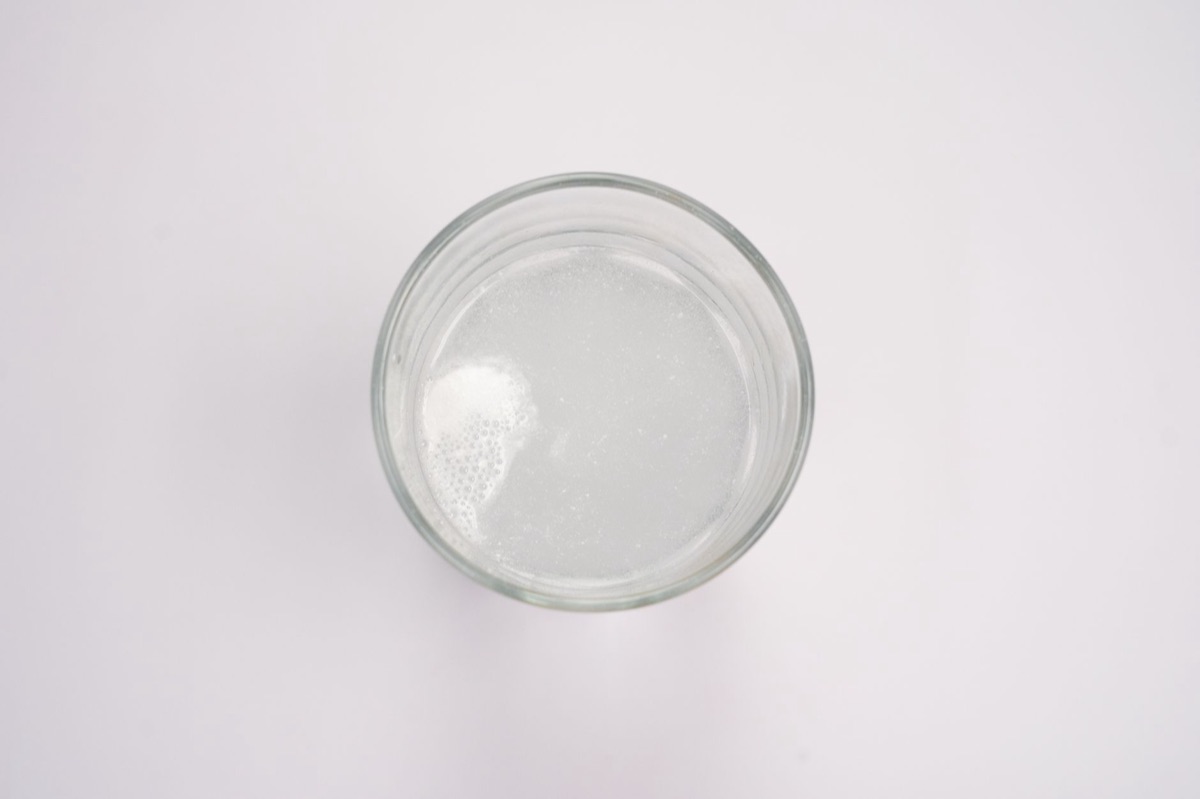
When you mix baking soda and vinegar, you trigger a chemical reaction that produces carbon dioxide gas. This creates the famous "fizzing" action.
While the fizzing itself is mostly for show, the mechanical action of the bubbles can help lift loosened dirt from tight crevices around the drain or faucet base.
However, knowing the tools is only half the battle; knowing how to use them in sequence is where the real magic happens.
Step-by-Step Restoration: Removing Tough Stains
The kitchen is quiet in the evening, and you pull a heavy ceramic bowl of baking soda toward the sink to begin the deep clean.
To restore a heavily stained sink, follow this three-phase approach to ensure you aren't just moving dirt around, but actually removing it.
- Phase 1: The Acid Soak. Spray your faucet and the stained areas of the sink liberally with undiluted white vinegar. Let it sit for 10 to 15 minutes. This "dwell time" allows the acid to soften the hard mineral deposits so they don't require heavy scrubbing later.
- Phase 2: The Abrasive Scrub. While the vinegar is working, create a paste by mixing baking soda with a small amount of water in a bowl. Apply this paste to the softened stains. Using a soft sponge or a non-scratch nylon pad, scrub in circular motions. If you have a stainless steel sink, always scrub in the direction of the metal grain to prevent micro-scratches.
- Phase 3: The Final Rinse and Polish. Rinse the entire sink thoroughly with warm water to remove all traces of baking soda. Use a clean, dry microfiber cloth to buff the surface dry. This is the most important step; if you leave the sink wet, the mineral cycle begins again immediately.
| Cleaning Agent | Primary Function | Best Used For... |
|---|---|---|
| White Vinegar | Dissolving Minerals | Faucets, chrome fixtures, and heavy scale |
| Baking Soda | Mild Abrasive | Scrubbing stains and deodorizing drains |
| Lemon Juice | Polishing/Scenting | Adding shine and a fresh citrus scent |
| Microfiber Cloth | Drying/Buffing | The final step to prevent new water spots |
When I tried this routine on a Saturday morning in 2025, I realized that the "soak" phase was the difference between a lot of elbow grease and an easy clean.
But once the sink is clean, how do you keep it that way?
Proactive Maintenance: Preventing Future Buildup
You finish the cleaning, and the sink reflects the overhead lights like a mirror. You reach for a towel to wipe the last few drops of water away before they can form new spots.
The best way to keep a sink clean is to prevent the buildup from ever taking hold. If you wait until the stains are thick, you are fighting an uphill battle.
The "Wipe Down While Damp" technique is the gold gold standard for maintenance. After every use, take thirty seconds to wipe the faucet and the basin with a dry cloth. If you remove the water before it evaporates, the minerals cannot settle on the surface.
For those who find daily wiping too tedious, a weekly vinegar spray is a great middle ground. Before you go to bed on a Sunday night, give the faucets a quick mist of vinegar and rinse them in the morning. This prevents the buildup from becoming thick enough to require heavy scrubbing.
Lastly, pay attention to your plumbing. If your drains are sluggish, organic matter can accumulate around the sink rim. Cleaning your drain traps regularly prevents the buildup of "sludge" that can migrate onto your sink surfaces.
Maintaining this balance is easy until you encounter a stain that refuses to move.
Advanced Care and Troubleshooting
A stubborn, dark ring around the base of a heavy brass faucet refuses to budge, even after the vinegar soak. You realize that sometimes, the standard routine needs a specialized approach.
When dealing with embedded stains in grout lines or around silicone sealant, the standard paste might not be enough. For these tight crevices, make a thicker baking soda paste (almost like a frosting) and let it sit in the cracks for 30 minutes before scrubbing.
For discoloration in metallic fixtures, be careful. While vinegar is great for chrome, it can sometimes dull certain finishes like brushed brass or matte black if left to soak for hours. Always test a small, inconspicuous area first.
A critical safety note: Never mix vinegar with bleach. If you have previously used a heavy-duty bleach cleaner in your sink, rinse it thoroughly before using vinegar. The combination creates toxic chlorine gas.
When working with stainless steel, always remember the grain. If you look closely, you will see tiny lines in the metal. Always scrub and wipe in the direction of those lines to maintain the integrity and look of the finish.




Comments 0