Fix Wobbly Heirloom Chairs With 4 Professional Tips
"Don't throw away that wobbly heirloom; learn how to transform structural failure into rock-solid stability using professional woodworking secrets."
If your favorite dining chair starts rocking or creaking, the solution isn't a new piece of furniture—it is usually a bit of fresh glue and a steady hand. Most structural failures in wooden chairs come from dried-out joints or loosened tenons that can be tightened with the right techniques.
* Structural Integrity First: Structural repairs (joints/frames) must always precede aesthetic repairs (sanding/staining). * The Glue-and-Clamp Rule: Most chair failures are caused by dried-out glue; modern PVA wood glue combined with proper clamping pressure is the primary fix. * Reinforcement over Patching: Forged screw holes or weakened joints require filling with wood plugs or epoxy, not just more screws. * Safety First: Always check for wood rot or insect damage before attempting a structural fix.

How to diagnose: Is your chair fixable or beyond repair?
The sunlight hits the dining room table at 10:00 AM, revealing a hairline crack in the leg of an antique oak chair. You sit down, and the chair groans, shifting an inch to the left. This is the moment of truth: is the wood failing, or is the connection failing?
The "Wobble Test" is your first diagnostic tool. Gently wiggle the chair while it is upright. If the movement happens at the joints—where two pieces of wood meet—you are dealing with a joinery issue.
If the wood itself flexes or cracks in the middle of a leg or a rail, the material integrity is compromised. Most chair failures are joint-based, meaning they are highly fixable.
Material assessment is the next step. Solid wood is the gold standard for restoration because it can be sanded, glued, and joined repeatedly. If your chair is made of particle board or MDF (Medium Density Fiberboard), structural repair is much harder.
These materials do not hold glue or screws well once they have been compressed or water-damaged.
You must also perform a rot or termite check. If you see small, perfectly round holes or "sawdust" piles near the base, you may have an insect infestation. If the wood feels spongy or soft when you press a screwdriver into it, the wood is rotting.
If rot or insects have compromised the core of the wood, the chair is unsafe and should be retired.
Finally, perform a cost-benefit analysis. If the chair is a mass-produced piece from a big-box retailer, the cost of high-quality glue, clamps, and your time might exceed the cost of a new chair. However, if it is a solid wood heirloom, the investment in repair is almost always worth the effort.
Essential Toolkit: What tools do you actually need?
The garage door creaks open at 6:00 PM, and you lay out your tools on the workbench. You have a pile of hardware, but you need to know which tool solves which problem. A cluttered toolkit can lead to mistakes, so organization is key.
The primary tool for any woodworker is adhesive. You will need two types: PVA (Polyvinyl Acetate) wood glue for tight, traditional joints, and two-part Epoxy for larger gaps or voids. PVA glue is the standard for "glue-to-wood" bonds, while epoxy is better when the joint fit is slightly loose.
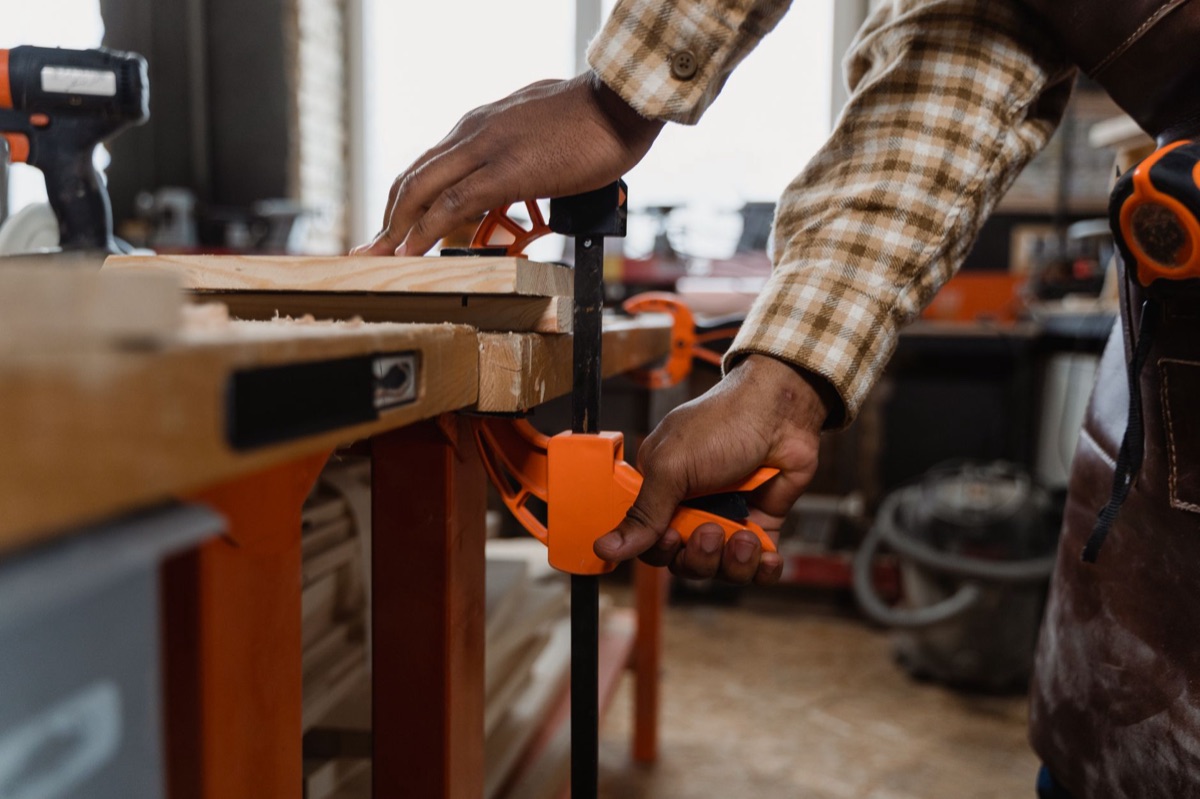
Clamping essentials are non-negotiable. You cannot simply hold two pieces of wood together with your hands and expect a permanent bond. You need bar clamps for long rails or strap clamps (also called band clamps) to apply even pressure around the entire circumference of a chair leg.
For precision, keep these hand tools nearby: 1. A rubber mallet: To gently tap joints together without denting the wood. s2. A screwdriver: For tightening hardware or removing old screws. 3. A block plane: To shave off tiny amounts of wood for a perfect fit.
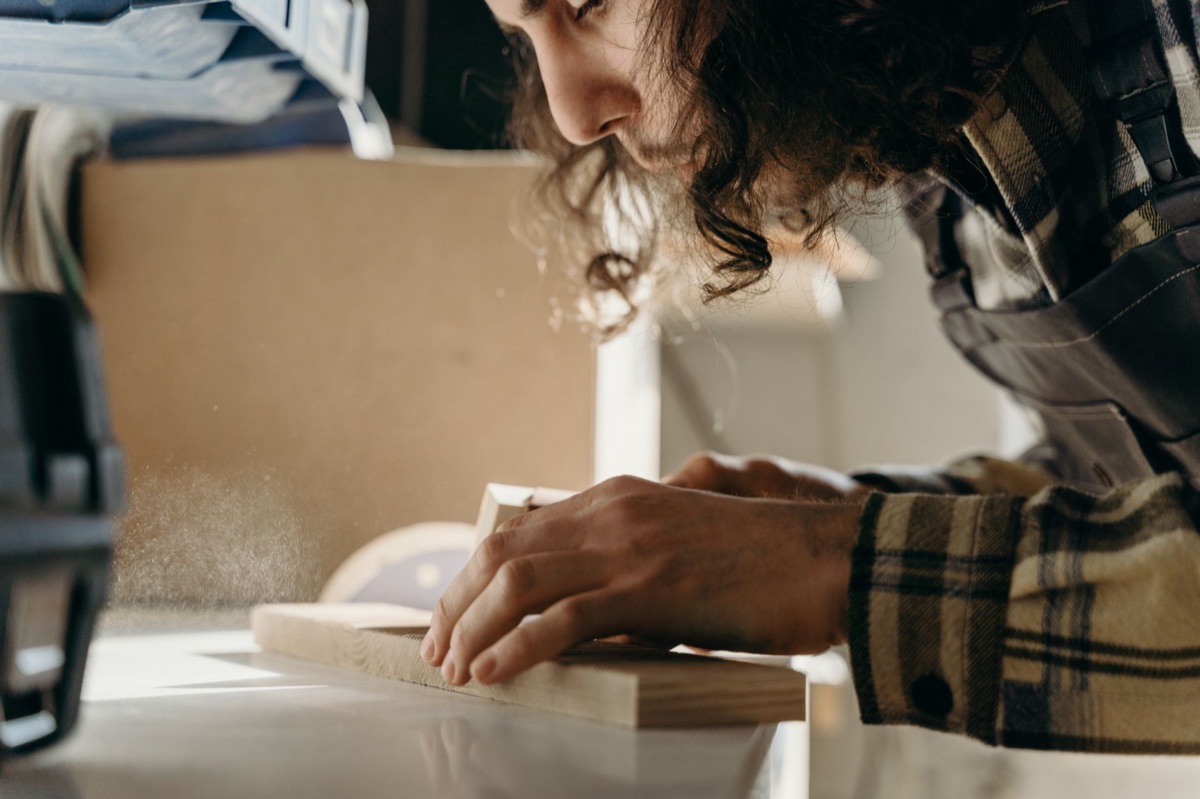
Surface preparation requires sandpaper. You should have a variety of grits, typically starting with 80-grit for heavy smoothing, 120-grit for smoothing, and 220-grit for the final touch. You will also need wood filler or putty to hide the marks left by your repairs.
Step-by-Step: The Professional Restoration Process
The workshop smells of cedar and fresh glue as you prepare to take the chair apart. This is the most delicate phase. If you rush the disassembly, you might snap a delicate tenon or crack a historic leg.
Step 1: Disassembly & Cleaning Gently tap the joints apart using a rubber mallet. If the glue is old and brittle, the joints should eventually give way. Once disassembled, use a scraper or sandpaper to remove the old, crusty glue from the surfaces.
The wood must be clean for the new glue to bond.
Step 2: Joint Refitting Before applying glue, perform a "dry fit." Put the pieces together without glue to see how they seat. If a tenon (the male end of a joint) is too loose, you may need to glue a thin veneer or a small shim to it.
If it is too tight, use a block plane to shave it down until it fits snugly.
Step 3: The Re-bonding Phase Apply a thin, even layer of glue to both the male and female parts of the joint. Reassemble the chair. This is where you apply your clamps. Ensure the pressure is firm but not so tight that you squeeze all the glue out of the joint.
Wipe away the "squeeze-out" (excess glue) immediately with a damp cloth.
Step 4: Structural Reinforcement If the joint is still weak after gluing, use wood dowels. This involves drilling a hole through the joint and inserting a hardwood peg to mechanically lock the pieces together. This is much stronger than glue alone.
Step 5: Drying Time Protocol Once the chair is clamped, leave it alone. For structural, load-bearing furniture, waiting at least 24 hours is non-negotiable. Moving the chair too early can cause the bond to fail permanently.
| Tool/Material | Best Use Case | Difficulty Level |
|---|---|---|
| PVA Wood Glue | Tight, traditional joints | Easy |
| Two-Part Epoxy | Large gaps or voids | Moderate |
| Bar Clamps | Long, straight joints | Easy |
| ly. | ||
| Strap Clamps | Round legs or frames | Moderate |
| Wood Dowels | Reinforcing weak joints | Advanced |
Advanced Fixes: How to handle stripped holes and cracks?
You stand over the workbench, looking at a screw hole that has become a hollow, useless crater. The wood has been stripped, and the hardware just spins in place. This is a common frustration, but it is not permanent.
The "Toothpick/Dowel Trick" is the classic quick fix. For a stripped screw hole, take a wooden toothpick or a small wood scrap, coat it in wood glue, and jam it into the hole. Once the glue dries, cut the excess flush. This gives the screw new "meat" to bite into.
For deeper issues, use epoxy injection. If you have a deep crack running through a leg, you can inject two-part epoxy into the void. This fills the space and creates a plastic-like bond that stabilizes "soft" or weakened sections of the wood.
For heavy-duty reinforcement, consider the spline or dovetail technique. This involves cutting a groove into two joining pieces and inserting a "spline" (a thin slice of wood) to lock them together. This is an advanced technique used for legs that take a lot of lateral weight.
Finally, manage the surface voids. You can use commercial wood putty for small surface scratches, but for larger gaps, a mixture of fine sawdust and wood glue creates a much better color match and a more seamless blend.
The Final Touch: How to achieve a professional finish?
The workshop is quiet now. The glue is dry, the joints are tight, and the chair feels solid. The final step is the most satisfying: turning a repaired object back into a beautiful piece of furniture.
The sanding sequence is critical. Start with the coarsest grit (80) to level the joints and remove marks. Progress to 125, then 220. Always sand in the direction of the wood grain to prevent cross-grain scratches that show up once you apply a stain.
Once the surface is smooth, you can apply a finish. If the chair is an antique, a clear wax or a light oil finish preserves the vintage look. If you want a modern look, a polyurethane coating provides a hard, protective shell.
| Step | Action | Goal |
|---|---|---|
| 1 | Sanding | Smooth the surface and joints |
| 2 | Cleaning | Remove all dust and debris |
| 3 | Staining (Optional) | Match the color of the wood |
| 4 | Sealing | Protect the wood from moisture |
#




Comments 0