Mold Removal: 4 Steps to Kill the Source and Save Walls
"If you're just wiping the surface, you're only feeding the roots; learn how to kill the source and protect your walls forever."
When you find those dark, fuzzy patches creeping across your bedroom wallpaper, the instinct is to grab a sponge and some household cleaner.
However, if the moisture is trapped behind the paper or deep within the drywall, a surface wipe is merely a cosmetic fix that masks a growing structural problem. To stop the cycle, you must move beyond the surface and address the physics of your home.
* Surface vs. Structural: Distinguish between superficial mold on the paper and deep-seated moisture within the wall to prevent rot. * The Golden Rule: Mold removal is ineffective without addressing the humidity source, whether it be ventilation or insulation issues. * Professional Sequence: Follow the four-step process: Inspect → Eradicate → Dry → Seal. * Prevention is Key: Using anti-mold primers and maintaining humidity between 40% and 60% is the only way to prevent recurrence.

Why does mold keep coming back after cleaning?
At 10:00 PM on a rainy Tuesday in late 2025, you stand in your hallway, staring at a grayish smudge that appeared just three days ago. You scrubbed it with vinegar last Tuesday, yet the dark spots are already blooming again, as if they were waiting for you to turn your back.
The reason the mold returns is that you are likely dealing with two different types of growth: surface mold and structural mold. Surface mold sits on the paper or the outer layer of the glue, which is relatively easy to kill.
Structural mold, however, lives in the microscopic pores of the gypsum, the concrete, or even behind the insulation. If the moisture is trapped behind the wallpaper, cleaning the front side is like trying to dry a sponge while someone else keeps pouring water into the bottom.
Temperature plays a massive role through a phenomenon called the "Dew Point." When warm, humid indoor air hits a cold exterior wall, the air cools down and can no longer hold its water vapor, causing condensation. This microscopic layer of water provides the perfect fuel for spores.
If your indoor humidity stays above 60%, microscopic spores can bloom into visible colonies within as little as 24 to 48 hours. Cheap cleaners often fail because they only kill the visible "bloom" without reaching the microscopic roots embedded in the substrate.
But cleaning the surface is only half the battle; the real fight happens deep within the walls.
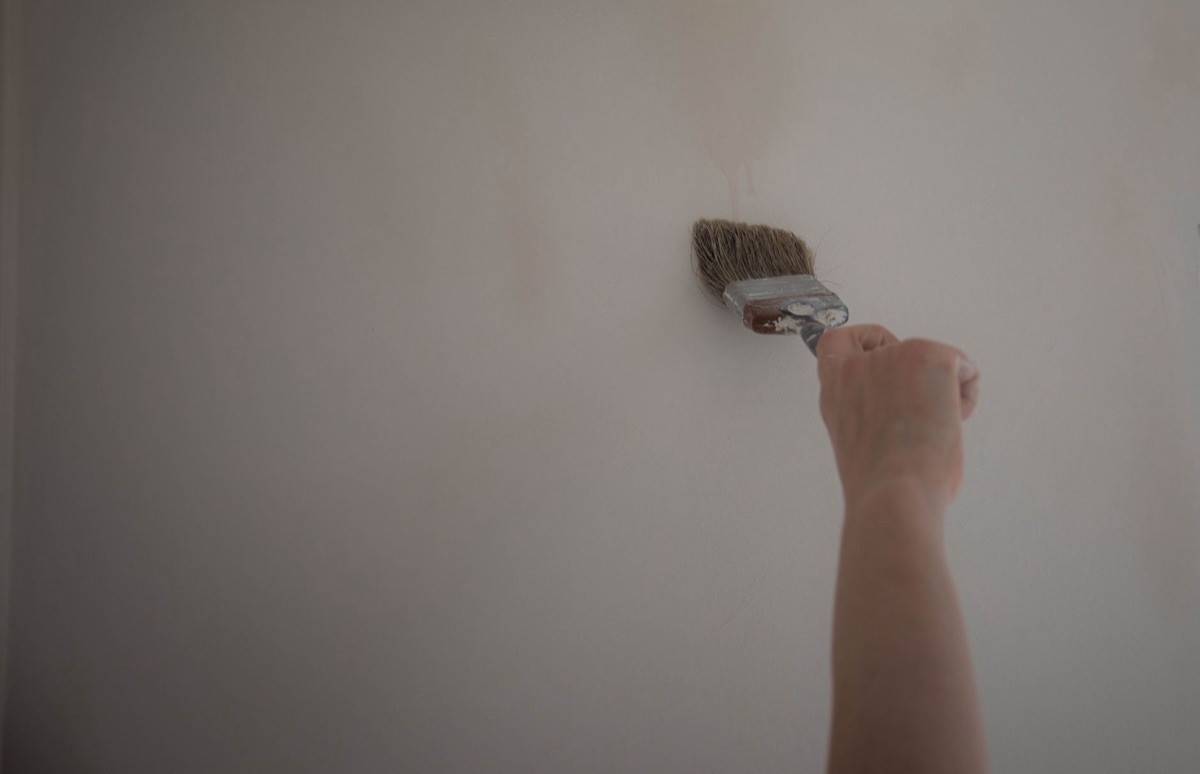
Step-by-Step: The Professional Mold Eradication Process
You stand in the middle of your living room in early 2026, surrounded by plastic sheeting and a heavy-duty mask, looking at a section of wall where the wallpaper has been peeled back. The task feels overwhelming, but the systematic approach makes the impossible manageable.
I remember the first time I tackled a damp corner in my own guest room; the sheer amount of fine dust I didn't see initially was a wake-up call.
- Inspection & Preparation: Before you touch the mold, identify the source. Is there a plumbing leak behind the wall or a roof leak above? If the wall is dry but moldy, it is an insulation/ventilation issue. Put on your PPE—an N95 mask, gloves, and goggles are non-negotiable to prevent inhaling spores.
- Removal: If the mold is deep, you cannot clean the paper; you must remove it. Peel back the affected wallpaper entirely. If the drywall or plaster feels soft, bubbly, or "spongy" to the touch, the mold has likely compromised the structure, and that section of the wall may need replacement.
- Chemical Treatment: Once the substrate is exposed, apply professional-grade anti-fungal solutions. These are designed to penetrate the porous surface of the wall. Apply the solution to the bare wall and let it sit for the manufacturer's recommended time to ensure the "roots" are neutralized.
- Drying & Dehumidification: After treatment, the wall must be bone-dry. Use a high-powered floor fan or a dehumidifier to bring the moisture levels in that room below 50% before you even think about applying new paint or wallpaper.
The removal is the hard part, but choosing the right supplies is where many homeowners lose their investment.
Which materials should you use?
You are standing in the aisles of a local hardware store in mid-2026, comparing thick liquids in plastic bottles and heavy rolls of vinyl. The choices are overwhelming, but the right tool makes the difference between a permanent fix and a wasted weekend.
| Material Category | Type/Option | Best Use Case |
|---|---|---|
| Mold Removers | Chlorine-based | Fast-acting and heavy-duty; best for non-porous surfaces. |
| Mold Removers | Hydrogen Peroxide-based | Safer for certain surfaces; penetrates slightly better than bleach. |
| Primers/Paints | Fungicidal Primers | Essential for sealing the wall after mold removal. |
| Wallpaper | Vinyl-coated | Best for high-humidity areas like bathrooms or kitchens. |
| s | ||
| When choosing cleaners, remember that chlorine-based cleaners are harsh and can damage certain finishes, while hydrogen peroxide is often a better choice for deep penetration on certain substrates. |
For the next layer, always use a fungicidal primer—a specialized coating that creates a chemical barrier against future spore growth. If you are choosing new wallpaper, opt for moisture-resistant vinyl over paper-based options in humid zones.
To maintain the "dry zone," keep an active dehumidifier or silica gel packs in the room to manage ambient moisture.
If you can't stop the moisture from entering the room, you must change how the room breathes.
How to prevent recurrence: The "Shield" Strategy
The sun sets on a clear evening in 2026, casting long shadows across your newly renovated room. You walk along the wall, ensuring there is enough space between your bookshelf and the exterior surface, knowing that airflow is your best defense.
To prevent the mold from returning, you need a "Shield Strategy." If the cause is "thermal bridging"—where heat escapes through a specific part of the wall—you may need to add professional insulation or use thermal-reflective wallpaper to prevent the dew point from being reached.
Focus on these four pillars of prevention: 1. Ventilation Habits: Practice cross-ventilation by opening windows on opposite sides of the house. Always use exhaust fans in bathrooms and kitchens to vent moist air directly outside. 2.
The "5cm Rule": Never push furniture flush against an exterior wall. Keep at least two inches (roughly 5cm) of space between your cabinets, sofas, or beds and the wall to allow air to circulate. 3. Humidity Control Tech: Use a digital hygrometer to monitor your levels.
Set your dehumidifier to maintain a constant level of approximately 50% humidity. 4. Seal the Gaps: Use caulk to seal gaps around window frames and baseboards where air leaks can introduce moisture.
Even with the best strategy, one wrong move can restart the entire cycle.
Common Mistakes to Avoid (The "Don'ts")
You look at the corner of the room where you once painted over a dark spot, only to see the paint bubbling and peeling in a grotesque pattern. You realize now that the mistake was not just cosmetic—it was a failure of physics.
* Mistake 1: Painting over mold: This is the most common error. If you trap moisture behind a fresh coat of paint, you are creating a pressurized incubator for mold. The paint will bubble, peel, and the rot will accelerate. * Mistake 2: Ignoring the source: If you clean the mold but don't fix the leak or the insulation, you are essentially throwing money into a black hole. * Mistake 3: Using too much water: When cleaning, do not soak the wall. Excess water during the cleaning process can push mold deeper into the drywall. * Mistake 4: Neglecting PPE: Many people skip the mask because they think the mold "looks dry." Inhaling microscopic spores during a cleanup can lead to respiratory issues.


Comments 0