Cordless Drill Guide: Fix DIY Jobs with Proper Technique
Stop guessing and start fixing: Your foolproof, step-by-step guide to mastering the cordless drill for any DIY job.
Mastering a power drill is the difference between a frustrating afternoon of stripped screws and a professional-looking home project.
By understanding torque, bit selection, and proper body mechanics, you can tackle everything from assembling IKEA furniture to mounting heavy shelving units with confidence.
* Safety First: Always wear eye protection and ensure the bit is securely fitted before powering on. * Select the Right Bit/Mode: Match the bit type (screw vs. drill) and torque setting to the specific task. * Battery Care Matters: Proper charging and storage extend the life and performance of your investment.
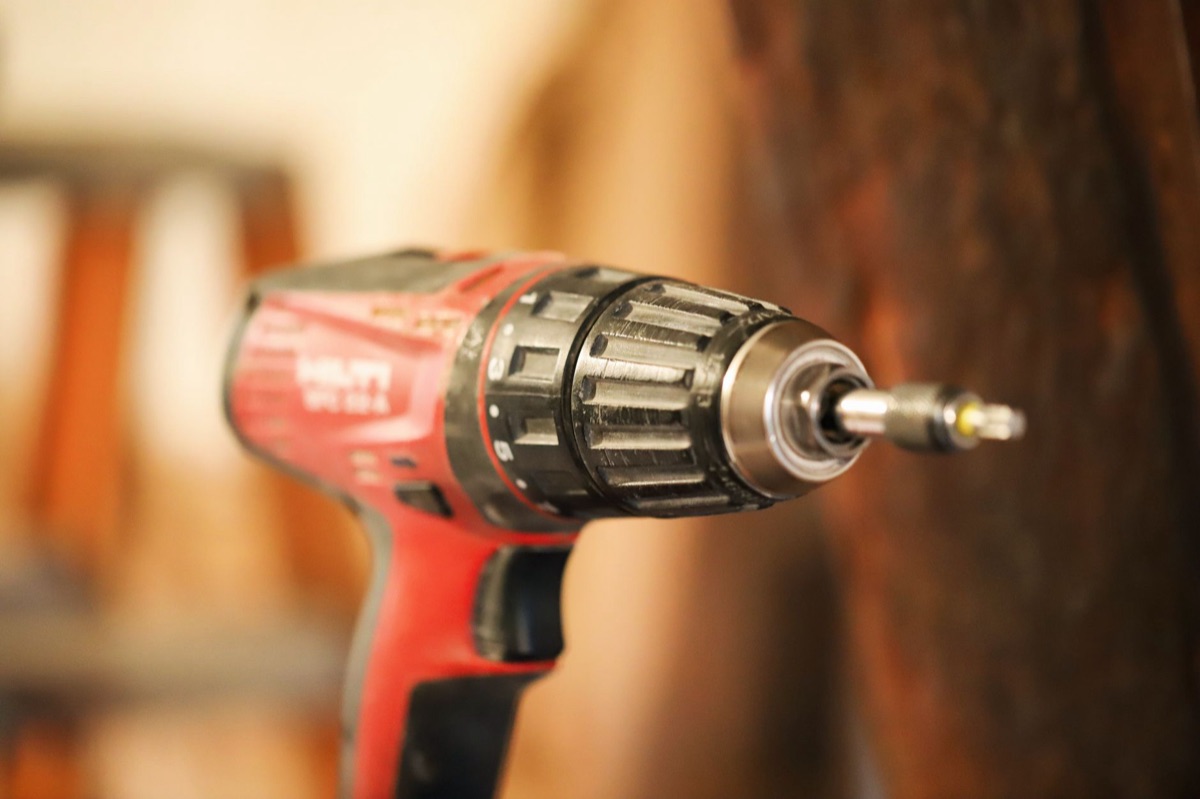
🛡️ Before You Drill: Essential Safety & Setup
The smell of sawdust fills the garage as you pull a brand-new cordless drill from its plastic casing on a Tuesday morning in 2025. You feel the weight of the tool in your palm, wondering if you should turn it on right this second.
Before you pull the trigger, you must establish a safe workspace. First, put on safety glasses; a flying splinter or a snapped bit can cause eye injuries in a fraction of a second. Check your power source by ensuring the battery is fully seated in the base of the tool with a firm click.
If the battery looks swollen or the metal contact points are dirty, do not attempt to power the tool. In my own experience, I once tried to force a slightly mismatched battery into a drill in 2024, and the resulting spark nearly ruined the tool's internal circuitry.
It is also vital to understand what you are holding. A drill is designed to bore holes, while a driver is designed to turn screws. Using a driver bit to try and bore a hole through a piece of oak will destroy the bit and likely slip, causing injury.
Check your manual to see the specific RPM and torque limits of your model to ensure you aren't pushing the motor beyond its intended capacity.
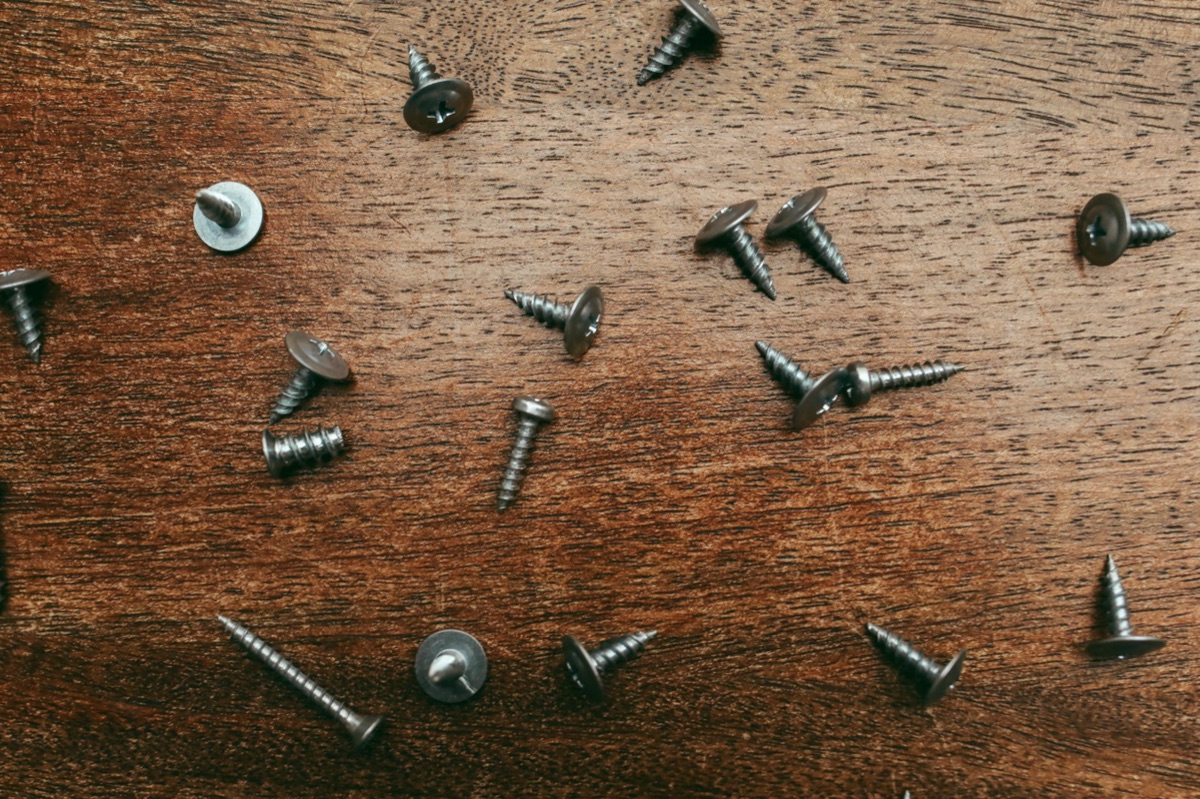
🔩 Choosing Your Match: Why do bits matter so much?
You stand in the hardware aisle at Home Depot on a Saturday afternoon, staring at a wall of metal bits that all look vaguely similar. You pick up a Phillips bit, then a Torx bit, wondering if the difference actually matters when you just want to hang a picture frame.
Understanding the difference between bits is the most important technical skill for a beginner. You must distinguish between drill bits (used for making holes) and driver bits (used for turning screws). If you try to use a driver bit to drill a hole, you will ruin the bit's shape immediately.
When selecting bits, match the bit to the screw head perfectly. A Phillips bit (the cross shape) is common, but a Torx bit (the star shape) is often used in higher-quality construction screws because it prevents slipping.
If the bit doesn't sit perfectly snug in the screw head, it will "cam out," which means the bit slips out of the screw and grinds the metal flat.
Torque settings are the numbers on the ring behind the chuck. Think of torque as "rotational strength." You want low torque settings for delicate tasks like driving screws into soft pine or plastic to prevent over-tightening.
You want higher torque settings when you need the motor to fight through tougher resistance, but always remember that the torque setting is your primary defense against stripping a screw head.
🚀 From Box to Bolt: How do I actually use it?
You sit on the floor of your living room with a pile of flatpack furniture components spread out before you. You slide the battery into the handle of the drill, hear the click, and prepare to make your first real connection.
Follow this sequence to ensure a professional result every time:
- Assembly: Slide the battery into the handle until it clicks. Insert your bit into the chuck (the front clamping mechanism) and tighten it using the manual tightening ring or the key provided with your kit.
- The Grip & Stance: Hold the drill with your dominant hand on the handle and your other hand supporting the front of the tool or the secondary handle (if equipped). Keep your feet planted and your body stable to prevent the tool from twisting if it catches on a screw.
- Drilling (Drill Mode):ly: If you need to make a hole, select the drill bit. Hold the tool perpendicular to the surface. Start the motor at a medium speed to create a "starter" indentation, then increase speed as the bit bites into the material.
- Driving (Driver Mode): Switch to a driver bit. Place the bit into the screw head and apply firm, steady pressure toward the material. This downward force prevents the bit from jumping out of the screw.
- Controlled Execution: Start slow. As the screw head nears the surface of the wood, slow your trigger pull to avoid over-driving the screw too deep.
💡 Beyond the Basics: Why did the screw strip?
The drill suddenly jerks to the side, and you hear a sharp metal-on-metal grind as the screw refuses to turn. You look down to see the head of the screw has become a smooth, useless crater.
This is a common beginner's nightmare: a stripped screw. If this happens, do not keep trying to force the bit in. You can often fix this by placing a wide rubber band over the screw head and then pressing the bit through the rubber to create extra grip.
If that fails, you may need to use pliers to manually turn the screw or use a screw extractor kit.
If the drill stops suddenly (stalling), it is usually because the torque setting is too low for the resistance or the bit is binding in the material. If the motor sounds like it is struggling but not moving, you likely need to increase the torque or use a sharper bit.
To maximize your battery life, avoid letting your batteries sit empty for months. If you have a lithium-ion battery, charge it before storage.
When using the tool, avoid "impulse loading"—don't try to start a heavy-duty task with a nearly dead battery, as the sudden power draw can damage the battery cells.
| Task Type | Recommended Bit | Torque Setting | Pressure Level |
|---|---|---|---|
| Drilling Pilot Holes | Drill Bit | High (Drill Mode) | Moderate |
| Driving Screws (Wood) | Phillips/Torx | Medium | Firm (Downward) |
| Small Household Tasks | Small Driver Bit | Low | Light |
| Metal Work | Metal Drill Bit | Variable | Constant/Controlled |
🛠️ DIY Scenarios: How to apply these skills?
You look at the empty wall in your hallway, then at the heavy oak shelf you want to mount. You realize that knowing how to use the tool is one thing, but knowing how to apply it to real-world problems is another.
Your new skills allow you to tackle various home improvement projects:
* Mounting Shelves: When mounting to a wall, you must identify the studs (the wooden supports behind the drywall). You will use a drill bit to create a pilot hole in the stud, then a driver bit to sink the screw. * Assembling Flatpack Furniture: In products like those from IKEA, the wood is often particle board. You must use low torque settings to prevent the screw from crushing the compressed wood fibers. * Minor Fixture Repair: You can use your drill to replace loose hardware on doors or to mount new light switch plates with precision.
Always remember the golden rule of DIY: if the tool feels like it is fighting you, stop. Over-tightening is the most common mistake made by beginners. If you drive a screw too deep, you can crack the wood or the material you are working on.
*Note on Limitations: These tips apply to standard cordless drills and drivers. If you are working on professional-grade masonry or heavy-duty construction involving thick concrete or steel, a dedicated hammer drill or an impact wrench may be required to prevent motor burnout.*





Comments 0