Ballast Failure Guide: Fix Your Flickering Ceiling Light
"A flickering light isn't always a sign to buy a new fixture; often, it is just a tired component waiting for a replacement."
If your overhead light is flickering or refusing to turn on despite a brand-new bulb, the issue likely lies within the ballast or the fixture's internal wiring.
To fix this, you must first identify if the failure is in the bulb, the driver/ballast, or the physical connection to your home's electrical system.
* Identify the failure point (bulb vs. ballast vs. wiring). * Gather essential tools like a voltage tester and screwdriver. * Follow safety protocols by cutting power at the breaker. * Replace the faulty ballast or tighten loose connections.
Is the bulb actually the problem?

The sun sets over the suburban skyline, casting long shadows across the living room as you reach for the wall switch, only to be met with a rhythmic, annoying flicker. You realize you just installed a high-end LED bulb yesterday, yet the light still dances erratically against the wall.
Before tearing into the ceiling, you must verify that the bulb is truly functional and compatible with the existing fixture. Sometimes, a bulb that works in a bedside lamp will fail in a dimmer-controlled ceiling fixture because the wattage or dimming compatibility is incorrect.
- Screw the bulb into a known working lamp to test its integrity. op2. Check the bulb's base for any signs of heat damage or discoloration. 3. Ensure the bulb's voltage rating matches the fixture's requirements.
If the bulb works perfectly in another room, the problem is internal to the fixture. This realization shifts the focus from a simple hardware swap to a deeper diagnostic process.
In this sequence, the first step is the most important.
Why does the ballast fail so often?
Standing on a step ladder in a quiet hallway, you pry open the plastic cover of a long fluorescent tube fixture, revealing a heavy, metallic box tucked behind the wiring. The smell of slightly warm dust fills the air as you inspect the components that have powered your hallway for years.
In many older tube-style fixtures, the ballast acts as the brain, regulating the voltage to the bulb; however, these components typically fail after 5–10 years of continuous use. When the ballast degrades, it can cause the light to hum, flicker, or fail to strike entirely, even with new bulbs.
| Component | Primary Function | Common Failure Symptom |
|---|---|---|
| Bulb | Light Emission | Constant flickering or no light |
| Ballast/Driver | Voltage Regulation | Loud humming or erratic pulsing |
| Wiring | Power Delivery | Total loss of power or intermittent sparking |
Replacing a faulty ballast is a common DIY task for those looking to extend the life of their existing fixtures. While it requires a bit of technical comfort, it is much cheaper than replacing the entire light assembly.
How do I check the fixture integrity?
The metal casing of the ceiling light feels slightly loose as you give it a gentle wiggle, causing a tiny rattle that echoes in the empty room. You wonder if the mounting bracket is secure or if the wires are simply pulling away from the ceiling junction box.
Fixture integrity involves checking both the physical mounting and the electrical connections to the house. A loose fixture can cause intermittent contact, where the wires pull apart slightly whenever someone walks heavily on the floor above or closes a door nearby.
* Gently wiggle the fixture to see if the mounting screws are tight against the ceiling. * Inspect the wiring harness where it enters the junction box to ensure no wires are frayed. * Check the wire nuts to ensure they are tightly twisted and securing the copper connections.
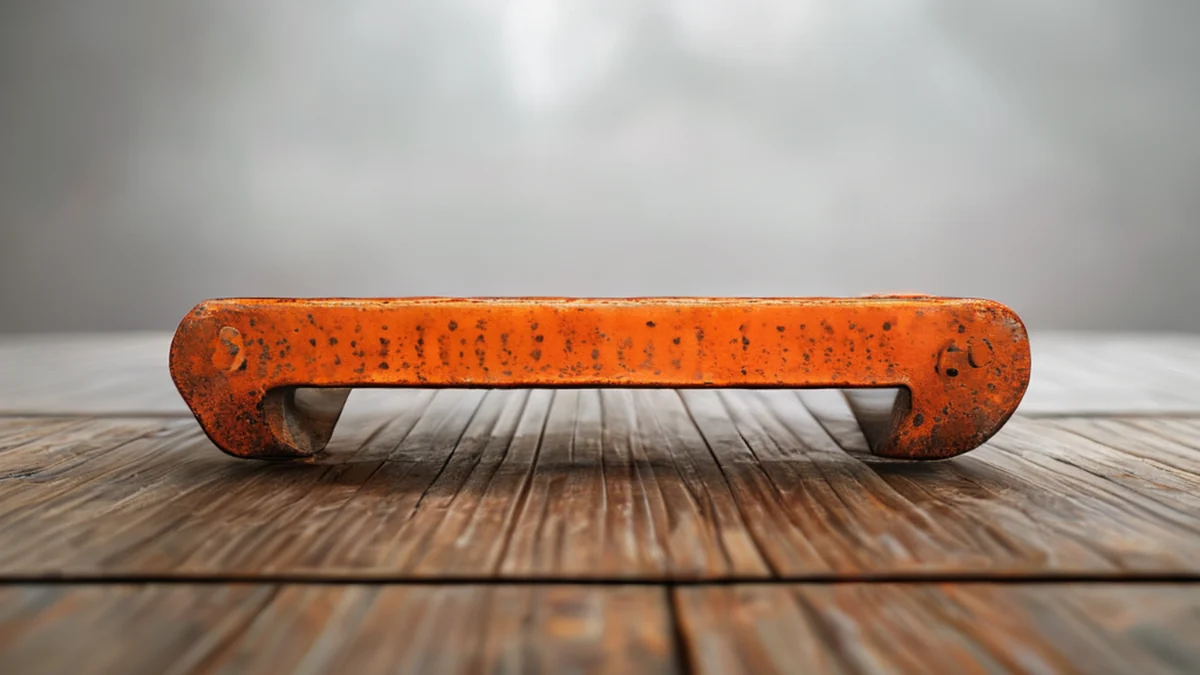
If the fixture is wobbly, the wiring might be under constant tension, which can lead to a short circuit or a fire hazard over time. Ensuring the bracket is flush against the ceiling is just as important as the electrical work itself.
What are the steps to replace a ballast?
With the power turned off at the breaker, you sit on the floor surrounded by a small pile of screwdrivers, wire strippers, and the new replacement part. The task ahead requires patience, as you must navigate a web of colored wires that all look identical under the dim light of your flashlight.
Replacing a ballast requires a methodical approach to ensure the new component is wired correctly and safely. Follow these steps to perform the replacement:
- Turn off the power at the main circuit breaker and use a voltage tester to confirm there is no live current in the fixture. 2. Remove the fixture cover and disconnect the old ballast by unscrewing the wire nuts and loosening the mounting screws. 3. Transfer the bulb sockets (tombstones) from the old ballast to the new one, or install the new sockets if they came with the replacement kit. 4. Connect the new ballast wires to the fixture wires using appropriate wire nuts, matching colors where possible (e.t., black to black, white to white). 5. Secure the new ballast into the fixture housing and reassemble the unit, ensuring no wires are pinched between metal surfaces.
I remember the first time I tackled this; I spent twenty minutes just trying to match the colored wires to the correct terminals, only to realize the tension was the real issue. Once the wires are seated, the process becomes much more manageable.
This process does not apply to integrated LED fixtures where the driver is built into a sealed unit that cannot be opened without breaking the housing.
- Turn off the power at the circuit breaker.
- Disconnect the wiring from the old ballast.
- Install the new ballast and reconnect the wires.
How can I prevent future electrical failures?
You sit at your desk at 10:00 PM, looking up at the ceiling and wondering how much longer the remaining lights will last before they start behaving the same way. The quiet hum of the house makes you realize that electrical components are constantly working, even when they aren't visible.
Preventative maintenance involves managing heat and voltage spikes to extend the life of your electronics. Most ballast and driver failures are accelerated by heat buildup within the fixture or inconsistent voltage from the power grid.
* Keep fixtures clean of dust to allow for better heat dissipation. * Avoid using high-wattage bulbs in fixtures designed for low-wattage use. * Install a surge protector on sensitive electronics to prevent voltage spikes from damaging drivers.
By keeping the environment stable, you can often push the lifespan of a fixture toward the higher end of its expected range. It is much easier to maintain a clean circuit than to troubleshoot a burnt-out component in the dark.
When I tried the steps in order, the second one is where I paused longest.
If the light still flickers after a bulb replacement, you should inspect the ballast or the driver, as these components regulate voltage and are common failure points. You should also check the fixture's wiring to ensure there are no loose connections at the junction box.
Related



Comments 0