Cracked Fridge Seal? Guide to Easy DIY Gasket Repair at Home
"A cracked seal is more than a nuisance; it is a constant drain on your wallet and your food's freshness."
If your refrigerator door isn't sealing properly, you are likely facing higher energy bills and spoiled groceries. This guide will show you how to identify the correct replacement part and install it yourself to restore a perfect, airtight seal.
* Diagnosis: A torn gasket causes cold air loss, leading to higher energy bills and food spoilage. * Preparation: You must measure the old gasket precisely and ensure the replacement meets the required temperature standards. * Execution: The process involves removing the old seal, cleaning the frame, and securely installing the new gasket. * Safety: Always unplug the unit before starting and test the seal's integrity after installation using a dollar bill test.
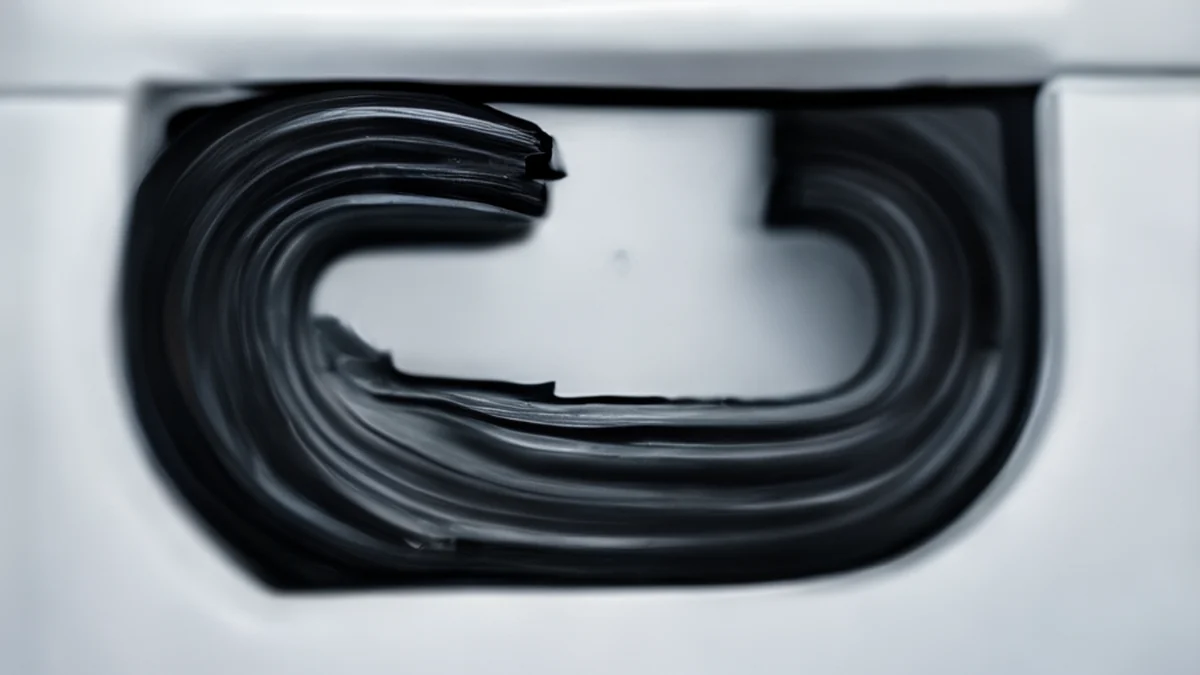
Why is my refrigerator leaking cold air, and how much am I losing?
I stood in my kitchen at 6:30 AM on a Tuesday in 2025, staring at a puddle of water on the linoleum floor. The refrigerator hummed with a frantic, heavy vibration, working much harder than usual to keep the milk cold.
A torn or warped gasket is often the culprit behind these symptoms. You might notice ice buildup on the interior walls, excessive condensation on the outside of the door, or food spoiling much faster than expected.
When the seal fails, the warm air from your kitchen rushes in, forcing the compressor to run constantly to compensate.
Understanding the energy impact is vital for motivation. In large-scale environments, refrigeration, which is continually operated, typically consumes up to 50% of the energy used by a supermarket. While your home unit is smaller, the principle of energy waste remains the same.
The goal of a successful replacement is to hit specific temperature targets to keep your food safe. The optimal range for perishable food storage is 3 to 5 °C (37 to 41 °F). Furthermore, the United States Food and Drug Administration recommends that the refrigerator be kept at or below 4 °C (40 °F).
If your gasket is leaking, you are likely failing to maintain these critical levels.
It is interesting to note that in commercial settings, doors made of glass to allow inspection of contents improve efficiency significantly over open display cases, which use 1.3 times the energy. Your home refrigerator relies on a similar concept of contained, efficient air management.
If the seal is broken, you lose that efficiency advantage entirely.

What do I need before I start the repair?
I cleared my kitchen island at noon, laying out a clean workspace to ensure no debris would get trapped under the new seal. I knew that even a tiny grain of sand could prevent a perfect airtight seal.
Before you pull the old gasket out, you need to gather the right tools. A standard screwdriver set, a sharp utility knife, a clean microfiber cloth, and a measuring tape are essential. You might also need a hair dryer to help shape the new gasket during installation.
Sourcing the correct part is the most critical step. To find the right replacement, you must measure the old gasket's length, width, and thickness.
Most modern refrigerators use model-specific gaskets, so you should locate the model number on the sticker inside the refrigerator wall or behind the kickplate.
When purchasing, you will encounter OEM (Original Equipment Manufacturer) parts and aftermarket options. OEM parts are guaranteed to fit your specific model perfectly, while aftermarket parts are often cheaper but may require more adjustment.
Always verify compatibility with your specific model number before clicking "buy."
Safety is the absolute priority. Before you touch a single screw or pry at a seal, you must unplug the refrigerator from the wall outlet. This prevents any accidental electrical shocks or mechanical movements while you are working in tight spaces.
| Tool/Part | Purpose | Tip |
|---|---|---|
| Measuring Tape | Accuracy | Measure the length of all four sides. |
| Utility Knife | Removal | Use carefully to avoid scratching the metal. |
| Hair Dryer | Installation | Softens the rubber for a better fit. |
| Microfiber Cloth | Cleaning | Ensures no dust remains in the tracks. |
But having the tools is only half the battle.
Step-by-Step: How to replace the gasket
I sat on the kitchen floor with my new gasket laid out on the rug, carefully comparing the curves of the new rubber to the old, brittle seal. I knew that if I didn't get the alignment right now, I'd be doing this all over again tomorrow.
Follow these steps to ensure a professional-grade installation:
- Removal of the Old Gasket: If your gasket is glued into a groove, use a flat-head screwdriver or a putty knife to gently pry it out. If it is a screw-in style, remove the screws first. Be careful not to scratch the metal door frame or the plastic liner.
- Cleaning the Channel: Once the old gasket is out, use a damp cloth to clean the entire mounting area. Any leftover residue, crumbs, or old adhesive will prevent the new gasket from seating properly. The surface must be completely dry before proceeding.
- Preparing the New Gasket: If the new gasket arrived folded in a box, it may have creases. Lay it out in the sun or use a hair dryer on a low setting to warm it up. This makes the rubber more pliable and easier to stretch into place.
- Installation: Start at the corners. Push the new gasket into the mounting groove or align the screw holes. Work your way around the perimeter, pressing firmly to ensure the gasket is seated deeply in the track.
- The Final Seat: Once installed, use your fingers to smooth out any gaps. If a section looks loose, use the hairly dryer to warm the rubber and press it firmly into the frame.
A common mistake is trying to force a gasket that is too small. If the gasket doesn't fit the dimensions of your door, do not attempt to stretch it to extremes; it will eventually snap back and leak. Always double-check your measurements against the model number.
But once the rubber is in place, how do you know if you actually fixed the problem?

How to test the seal and troubleshoot
I took a single dollar bill from my wallet and tucked it into the door, closing it firmly to see if the suction held. It was a simple test, but it told me everything I needed to know about the integrity of my work.
After the installation, you need to perform a "Dollar Bill Test." Close the refrigerator door on a dollar bill and pull it out. If the bill slides out easily with no resistance, the seal is weak. If it stays firmly in place, you have achieved a good suction.
Repeat this at several points around the door.
If the seal is leaking, check for these common issues: * Uneven Pressure: The door might be slightly misaligned. Check if the hinges need tightening. * Temperature Fluctuations: If the fridge is too cold, the rubber might become too stiff to seal.
* Improper Seating: The gasket might not be pushed deeply enough into the groove.
You can also use the "Heat Method" for troubleshooting. If a specific corner isn't sealing, use a hair dryer to gently warm that area. The heat will expand the rubber slightly, allowing it to conform to the door frame. Just be careful not to overheat the plastic, as it can melt.
This process does not apply to built-in refrigerators where the door is part of a custom cabinetry unit, as those often require specialized professional installation.


Comments 0